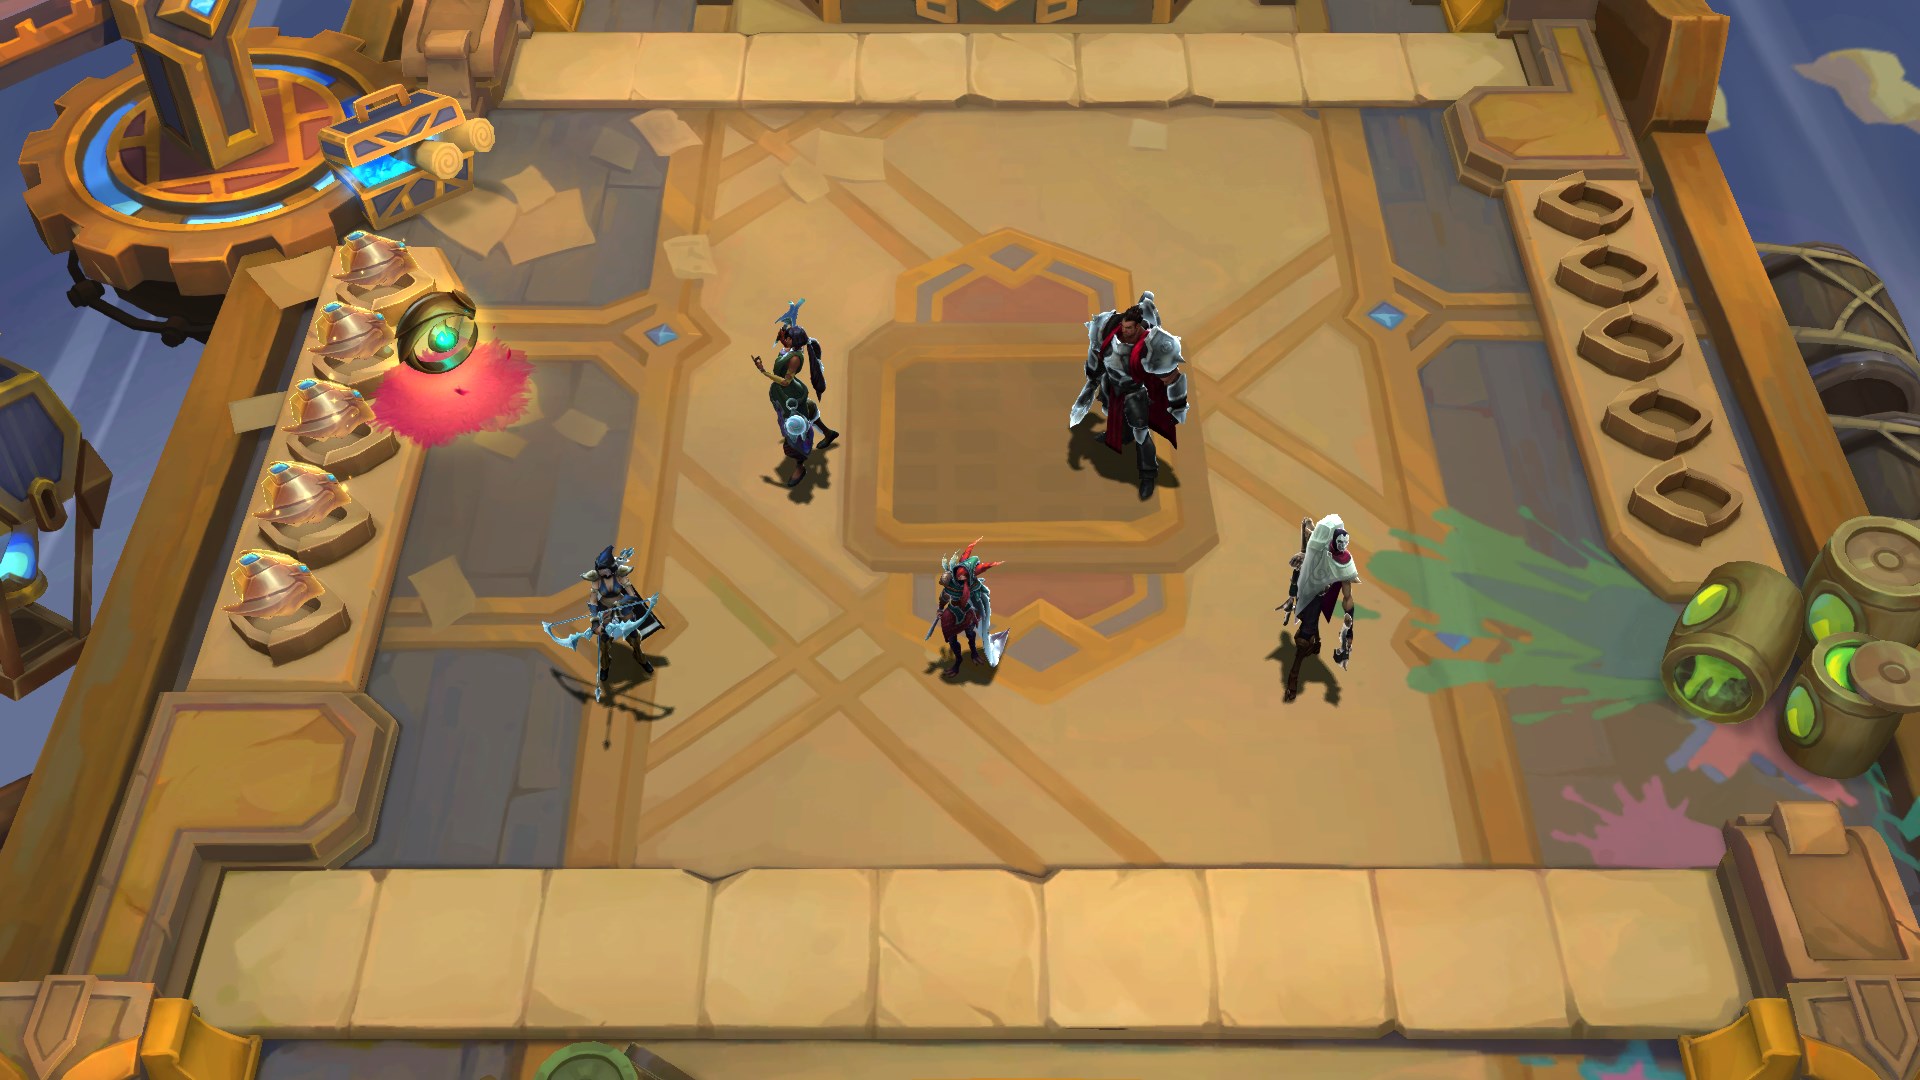
A sneak peek at a few team compositions coming with our final mid-set!
Bilgewater, Ixtal, item reworks, and new Region Portals—grab your snorkeling gear and let’s dive in!
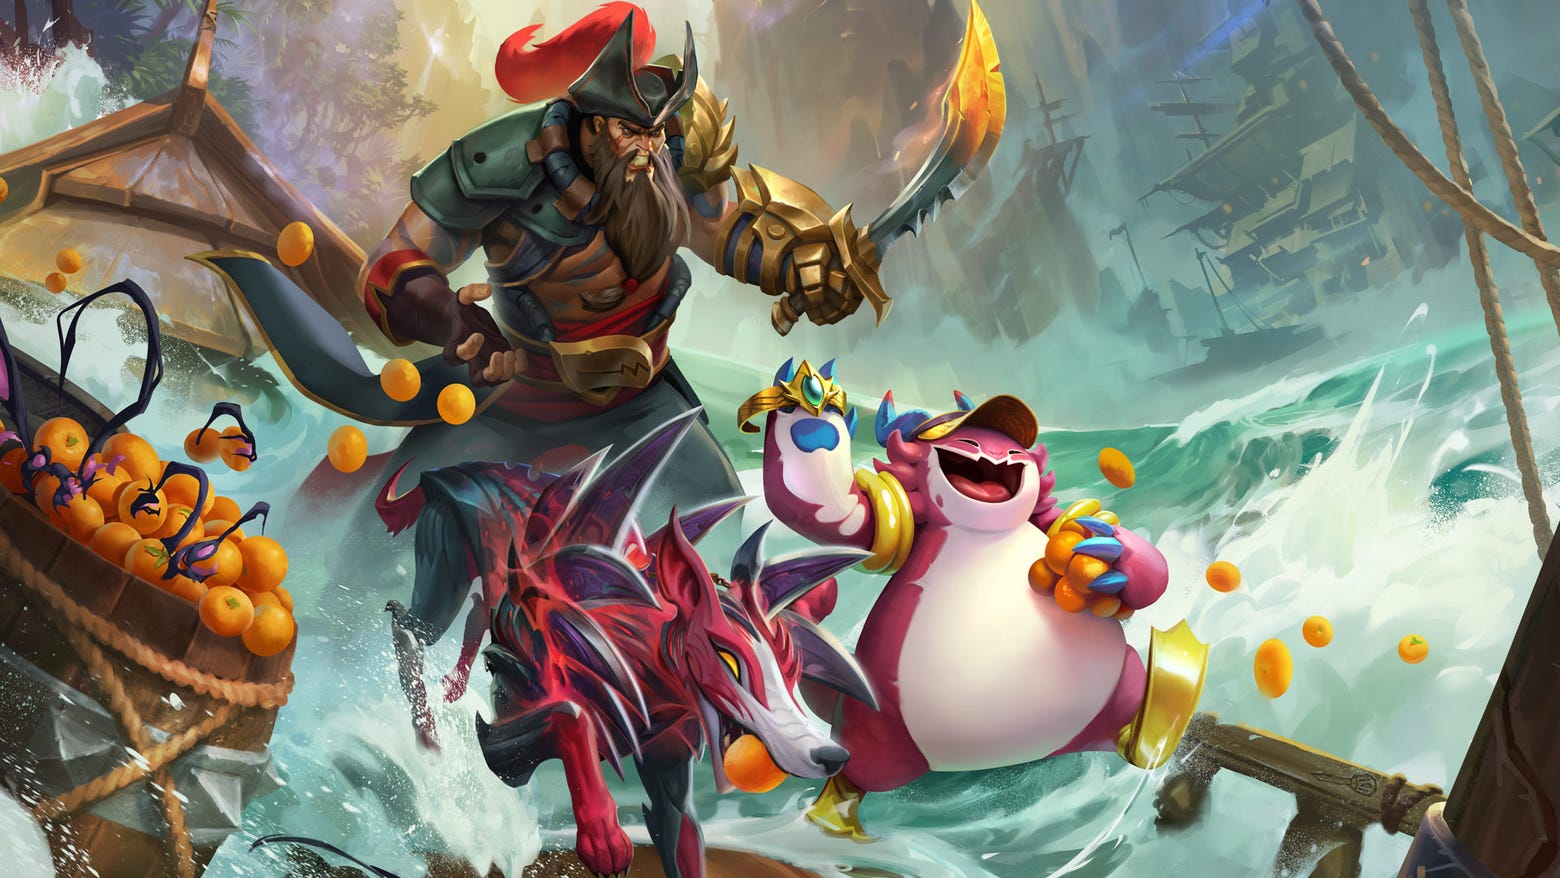
The Convergence storm that Reforged Runeterra has hit a warm front—expect strong winds, high humidity, and a whole lotta pirates—arrrgh! In this article I’m going to cover most of the new gameplay content, how you can use each piece on day 1 (September 13th), and of course, make a few jokes along the way. Alright let’s set sail: first up, Bilgewater!
Bilgewater: 3/5/7/9
Call upon the artillery with Bilgewater. Bilgewater champions apply a mark to enemies with their attacks and abilities. After a brief delay, cannon shots will strike marked enemies, dealing physical damage that increases with damage dealt to the marked enemy from Bilgewater units. As your crew expands, cannon shots will do more damage.
Assemble your crew:
- Illaoi: Tier 1 Bastion
- Graves: Tier 1 Gunner, Rogue
- Twisted Fate: Tier 2 Multicaster
- Nautilus: Tier 2 Juggernaut
- Miss Fortune: Tier 3 Strategist
- Nilah: Tier 4 Vanquisher
- Gangplank: Tier 5 Gunner, Reaver King
Getting a group of nine pirates with conflicting interests, vendettas, or complicated romantic relationships to work together can be tough, but believe you me, it’s even tougher when you need two Bilgewater Emblems and level 9 to do it. So, if you aren’t high rolling with the Urf Legend (or Poro), then you’ll probably just look to run Bilgewater 7 by swabbing the deck with all the freebooting buccaneers you can get your hands hooks on.
These seabound privateers may look tough (especially that Graves fellow) but the vertical comp lacks frontline (although Graves do be fronting), so your first step is to add some beef to your crew. Adding a strong Juggernaut unit, or Bastion if you keep Illaoi on board, can help strengthen your sea legs as you scale into the mid game. Come late game, you can maroon one of the least seaworthy crewmates and add Xayah or Aphelios with a Bilgewater Emblem if you happen upon one—they work incredibly well with the Emblem. Please note that if you separate Graves and TF you will break my heart.
While this eclectic group of pirates may not get along, or follow one particular captain, there is but one Reaver King amongst them. Gangplank is a Legendary unit that can be placed in the frontline, igniting enemies to do true damage that scales with his AD, or the backline where he’ll use his pistol to get quicker access to his ability, The Dreadway. This summons his vessel to crash into the board, dealing massive magic damage and empowering allies with citrus.
Depending on the needs of your comp, and the items on hand, position the Reaver King in the front or back row. AD items will maximize Gangplank’s ability to kill frontline tanks, but AP items will make his cutlass a cut-less, so you're better off backlining him for quicker access to his AP scaling spell. The Reaver King isn’t just the King of the pirates (at least in this particular set), he’s a great add to any AD heavy comp in the late game, as the citrus his Dreadway distributes prior to exploding grants Attack Speed and cleanses allies. Who knew citrus was highly combustible?!
Ixtal: 2/3/4
Ixtal brings the rise of the elements into Horizonbound. Ixtal units create different elemental hexes each game that empower units standing on them. Let’s meet the denizens of Ixtal and then acquaint ourselves with their elemental power:
- Milio: Tier 1 Invoker
- Qiyana: Tier 2 Rogue, Slayer
- Neeko: Tier 3 Bastion
As you go deeper in Ixtal breakpoints, you’ll access more elemental hexes, but at the final trait breakpoint you’ll unlock a bonus effect for the hexes instead of a third hex! Elemental hexes will appear in the same position and host the same element for each player in the lobby. The element will be the same no matter how many hexes are active. As for hexes, we’ve got a few different elements:
Stone: At the start of combat, empowered champions become immune to crowd control effects and reduce incoming damage by 20% for 8 seconds.
Bonus Effect: Empowered champions heal 550 on takedown.
Ice: The first time each empowered champion is reduced below 30% Health, they are encased in protective ice, becoming Untargetable and healing for 30% of their max Health over 2 seconds.
Bonus Effect: Upon freezing, adjacent enemies take 30% of their max Health as magic damage.
Electric: The first time an enemy takes damage from each empowered champion's Ability, they are Stunned for 2 seconds.
Bonus Effect: Empowered champions can Stun each enemy once every 6 seconds instead.
Wood: Empowered champions gain 10% max Health. At the start of combat, they also gain 20 permanent max Health and grow in size.
Bonus Effect: Every 4 seconds, empowered champions gain 15 Ability Power and 15% Attack Damage.
Fire: Damage from an empowered champion's Ability sets enemies on fire, dealing 45% of Ability damage dealt as magic damage and Burning them for 1% of their max HP each second, over 3 seconds.
Bonus Effect: Fires deal 90% of Ability damage dealt and 2% Burn instead.
Wind: Empowered champions gain 40% Attack Speed for 4 seconds at the start of combat and whenever they use their Ability.
Bonus Effect: Bonus Attack Speed stacks and lasts until the end of combat.
Dev Note: Ixtal changed heavily in our final week before PBE, and we were not able to show Wind. Additionally, expect the specific numbers to change heavily for this trait as we continue testing it—it’s pretty experimental and very fun, so we can’t wait to see how you all play with it!
Vanquisher: 2/4/6
Vanquishers are the bane of frontliners. Their spells can Critically Strike, and they have bonus Critical Strike Chance and damage. Both of these values increase as you hit trait breakpoints, but the real kicker of the trait is the bonus true damage Vanquishers do against enemies with 1600 Health or more. Let’s see who’s making the vertical Bruiser player cry in a corner:
- Jhin: Tier 1 Ionia
- Ashe: Tier 2 Freljord
- Darius: Tier 3 Juggernaut, Noxus
- Nilah: Tier 4 Bilgewater
- Xayah: Tier 4 Ionia
You may notice some familiar faces who’ve picked up a whole new skillset…and lost one (Deadeye) along the way. You also may notice Aphelios didn’t make it over to the Vanquishers. That’s because our moody moon lad has embraced his love of guns and been accepted by his Gunner classmates—just don’t rub it in Jhin’s face.
Vanquisher is a key piece of power to help this carry-heavy class get through tanks and into the backline. While you’ll be running 2 Vanquisher in vertical Ionia comps, adding an additional Vanquisher to your Bilgewater comps or Noxus reroll comps can turn your enemy’s frontline into a flat line. Finally, with Darius getting some new traits, there’s a new powerhouse Level 7 slow roll comp on the block: Noxus 3 (Darius, Katarina or Mordekaiser, Swain or eventually Sion), Vanquisher 2 (Ashe, Nilah, Darius), Freljord 2 (Ashe, Sejuani), Bruiser 2 (Rek’Sai, Sejuani) and Slayer 3 (Rek’Sai, Quinn, Mordekaiser). This is a 3-cost heavy reroll comp, so keep an eye out for the Three’s A Crowd Augment and Titan’s Resolve (Item) as it’s a useful item for both Darius and Rek’Sai!
New Four Costs
Historically, we’ve found the most success with mid-sets when we swap out a considerable number of our core 4-costs. So we’re doing the same with our final mid-set by swapping out a total of five 4-costs, more than any other cost of unit. Lux, Urgot, Zeri, Gwen, and Yasuo are out, and in their place we’ve got Silco, Nilah, Xayah, Mordekaiser, and the return of my personal favorite, 4-cost Fiora! Let’s meet our new favorite champs to hit 3 copies on at level 7 (just-hitters know what I’m talking about here).
- Silco: Zaun, Sorcerer
Silco excels against (and with) melee-heavy comps that maximize the AOE of his Shimmer. He benefits greatly from Ability Power, making Sorcerer a great trait for him.
- Nilah: Bilgewater, Vanquisher
You’ve heard of “like a knife through butter,” but have you heard of “like a Formless Blade through water?” Nilah’s attacks strike in a cone, dealing AOE damage, while her spell, Formless Blade, allows her to don a shield and dive to a safe (for her) location, gaining stacking (and smacking) attack speed.
Nilah works great with both of her traits—Bilgewater adds delayed damage, and Vanquisher allows her to get through the frontline. Being a melee carry, she is vulnerable to Crowd Control, so if she's CC’d and dies before being able to reposition, the fight’s going to go downstream fast. Try giving Nilah a combination of defensive and offensive items, with a Bloodthirster being absolutely core to her survivability.
- Xayah: Ionia, Vanquisher
Xayah is a strong, independent Vastayan, who’s taking some time away from Rakan to wing it on her own. And I gotta say, she’s doing just fine with her new ability, Featherstorm, which calls feathers behind her target that converge, ripping through enemies to deal physical damage and reduce Armor.
Xayah is a backliner with built-in Armor reduction, she just needs to get to casting to pull it off. A combination of Attack Speed and AD items will get her into the cadence of ripping feathers—and armor—off enemy tanks and backliners alike. One thing to note about Xayah, though: she has trouble hitting cornered units with her ability.
- Mordekaiser: Noxus, Slayer
Mordekaiser hits hard with his attacks that scale with AP. He hits even harder when his spell is active, granting him a shield and one hex more of range for a moderate duration. During this time, if he kills an enemy, he’ll steal AD, AP, Armor, MR, and Health from that enemy for the rest of combat.
Mordekaiser benefits from a mix of offensive AP items and defensive items. Activating Slayer is key to keeping Mordeakaiser’s health topped off so he can keep popping off.
- Fiora: Demacia, Challenger
A fan favorite from Gizmos & Gadgets, Fiora has graduated from the Academy (of fencing) and is here to bring honor to the Laurent family by defeating any Challenger in her way. Her ability, Blade Waltz, makes her untargetable as she strikes at her target's vitals. Each strike deals physical damage scaling with AD, and bonus true damage scaling with AP. She also heals for a small portion of the damage dealt. And if her target dies—which they will—she’ll change targets to the nearest enemy.
As a melee carry with great scaling and survivability tools, powerful items will allow Fiora to turn your arena into a podium, and Radiant Items from her Demacia trait definitely fit the bill. Jarvan IV and Sona are great adds to buy Fiora time to dish out damage with Crowd Control, and give her some rather useful Attack Speed buffs. Past Demacia 3, look to add a few Challengers to your comp, but don’t get too hung up on Fiora’s traits here—adding utility champions like Shen, and even Silco, brings tons of synergy to running Fiora as your primary carry.
TFT First Timers: Milio and Naafiri
A big welcome to the Convergence for Milio and Naafiri, whose first time in TFT puts them at the core of reroll comps, Ixtal comps, or late game Darkin Aatrox splashes.
As a 1-cost, Milio (Invoker, Ixtal) is a great holder for AP items, and a useful source of CC in the late game when you still want to use the elemental hexes from Ixtal. Milio and his trait also give just about any low-cost reroll comp a good kick, by allowing you to empower the 1-cost carry with the elements of Ixtal (and the good attitude of Milio)! But the real king queen of the reroll is Naafiri (Challenger, Darkin, Shurima) who will lead the pack in her own reroll comp. I’ve dubbed it “Who Let the Dogs Out.”
Slow-roll at level 6, maintaining perfect interest by utilizing your favorite Legend Augments from Tahm Kench or Lee Sin to three star Naafiri and Warwick—hopefully picking up Nasus and Fiora along the way. Naafiri will take your AD items, and Warwick/Nasus can take your defensive items. If you find yourself overloaded with AP items, swap Kaisa in for Fiora to make good use of that additional power. Naafiri’s spell provides single target physical damage that synergizes with her Darkin weapon’s passive. Her Darkin weapon, the Darkin Dagger, has her call upon packmates to attack her enemy each time she uses her ability, dealing additional damage and healing the wielder. The Darkin Dagger and the single target ability scale well with levels, so make sure to star her up as fast as possible to maintain your winstreak!
Once you’ve three-starred Naafiri, keep maintaining econ, ‘cause now you need to power level to find Aatrox. He’ll greatly empower the Darkin weapon effects of both himself and Naafiri. Using both Darkin units increases their passive weapon effects greatly, and allows your dog-centric reroll comp to scale into the late game!
Region Portals: Bilgewater
Travel to Bilgewater and get ready to make out like a bandit pirate, cause Bilgewater Region Portals are all about shopping. Let’s see what we can get with the local five-finger (or one hook) discount:
Finn’s Market
Round 3-7 is replaced by a visit to Bilgewater Trader Finn, who will stock either Completed, Artifact, Support, or Radiant items. You can choose one to keep for free!
Slaughter Docks
At the Slaughter Docks, you’ll gain free shop rerolls equal to the stage number plus 1 at the start of each stage! These only last for the round you get them, so star up your units and polish off those comps!
Rat Town
Rat Town is nicer than the name suggests, but not by much. Starting in Stage 2, Lucky Shops can appear randomly at the start of a round once per stage. These shops feature units tailored to your army's active traits. There’s no discount here, but you’ll save a heck-of-a-lot in rerolls.
Ryze, Realm Warp: Bilgewater
Traveling to a new region means there’s an all new Ryze spell. In Bilgewater, Ryze creates a portal, summoning a giant treasure chest to fall from the sky on the largest cluster of enemies, dealing magic damage to enemies within two hexes. The size of this chest is increased by the gold you have, so save up to make your foes dead broke.
Each enemy hit has a chance to drop loot and a chance to drop Gold. When the ability kills a foe this chance is higher, because in Bilgewater, that just makes cents.
Region Portals: Ixtal
Take a stroll through the jungles of Ixtal and wind up making new friends along the way, as these Portals are all about interaction (except for Cardinal Arcology).
Serpentine River
Get those just chatting fingers ready for this one! Instead of carousel rounds, vote for what bonus the lobby should get! Get a component anvil after each voting round.
Ixaocan
With this portal, everyone loves a reroll player! Each time players star up 20 units, all players gain increasingly valuable loot.
Cardinal Arcology
With so much variance in TFT, we’ve seen a desire for simple Portals, and Prismatic Augments (Jayce’s Workshop and The University are two of our most selected Portals). So instead of adding another wild Ixtal experiment, we’re giving more of what players seem to love with Cardinal Arcology, which will always offer a Prismatic, Gold, and Silver Augment.
Ryze, Realm Warp: Ixtal
In Ixtal, Ryze covers the ground with a thicket of vines around his current target. After a brief delay, he’ll deal magic damage to enemies within, and knock up enemies in the epicenter of the entanglement. Allies that are wrapped in vines (Barkskin) will gain Armor and Magic Resistance for a short duration.
Region Portals: Freljord
We’ve got one more new Region Portal to share that will highlight our new item rework!
Valar's Hollow
In Valar’s Hollow, you’ll gain an Item Anvil on 2-3 and a Support Anvil on 3-3. Just what is a Support Anvil? Read on to find out!
Item Update
Horizonbound has us looking to the future of TFT by adding two beloved regions and a number of new champions to one of our most beloved sets to date. But with Horizonbound, we’re not just focused on the mid-set. We’re making huge quality of life changes to our Item system that will leave it in a better state for many sets to come. This includes 6 new items, 3 adjusted items, a new Support Item class, an update to Artifact Items (previously Ornn Forge Items), and more! But before I get too carried away, I’m going to bring in Tim “Riot Truexy '' Jiang, a designer who’s joined us recently from League of Legends to bring his creative item designs (Tim made Axiom Arc, Fimbulwinter, and Shurelya’s Battlesong) to TFT! It’s the Tim show from here on:
Why Change Items?
Items are the most important way to power up champions in TFT. One of the most satisfying experiences is getting the perfect components to finalize your carry’s build. On the flip side, every TFT player has experienced getting Mortdogged unlucky with components and being unable to build any items for the champions they want to play.
One of the big obstacles for these are the more supportive items like Zephyr and Zeke’s Herald. While these items are incredibly powerful later in the game, they’re not that attractive on Stage 2 or 3, which makes a lot of recipes unappealing (Belt, Cloak, Tear openers). In Horizonbound, we’re moving supportive items into a new uncraftable category, and filling in the recipes with some new toys to power up a variety of champions.
Here are our two primary goals for Horizobound’s item rework:
- Make item categorization easier to understand
- Give each class of champions a variety of viable items to build that offer broad ranges of stats
Item Categories
In the upcoming item rework, we’ll be updating our item categories into the following:
Core items: These are the standard, craftable items made from the base components. Each of these will focus on powering up the holder in exciting ways.
Radiant Items: Upgraded versions of core items
Artifact Items: Previous “Ornn Artifact” items; these are uncraftable items that present exciting, powerful item combinations and synergies like Manazane and Trickster’s Glass.
Support Items: Our new item class containing uncraftable items focused on providing teamwide support and non-selfish outputs. These will include old items such as Shroud of Stillness and Locket of the Iron Solari, but also will contain a plethora of new items to fill in the missing pieces for your team. All Support items will have a uniform 250 Health, and will be much more powerful than their core item versions. We’re also taking this time to make it so Shroud of Stillness and Zephyr can no longer be equipped during combat—rats… I mean drats!
More Item Options For More Classes
With Horizonbound’s new craftable items, players should be able to find a buildable item combination to power up their tanks, carries, and supports from a variety of component combinations. And those items should offer a broader range of stats for more interesting combinations and uniquely flexible use cases.
Below are our six swap outs made to the core (craftable) items. It’s worth noting that the actual numbers on these items are not final, as we are still playtesting them.

Adaptive Helm: Tear and Negatron Cloak
Mana: 15
MR: 30
Combat Start: The holder gains bonus stats based on their starting position.
Front Two Rows: 15 Ability Power and 25 Armor and Magic Resist.
Back Two Rows: 15 Ability Power and gain 15 Mana every 3 seconds.
Adaptive Helm is a flexible item that’s useful on Magic scaling tanks, AP Bruisers, and Champions that just want to go through their spell rotations faster. Expect to build this on anyone from Swain, to Neeko, and even Ahri as it’s really as adaptive as its name suggests!

Nashor’s Tooth: Recurve Bow and Giant’s Belt
AP: 30
AS: 10%
Health: 150
After casting a spell, gain 40% Attack Speed for 5 seconds.
Nashor’s Tooth is an interesting item that has many use cases. Best for champions that can take full advantage of the enhanced Attack Speed time window, Nashor’s Tooth will be an item which has varying effectiveness. It’s best paired with other Mana Regeneration sources that can keep refreshing the Attack Speed buff!

Evenshroud: Negatron Cloak and Giant’s Belt
Health: 150
MR: 20
50% Sunder (Armor reduction) enemies within 2 hexes.
For the first 10s of combat, gain 25 Armor and Magic Resist.
While the name is not final on this one, the effects sure are. This item allows your tanks to provide Armor Sunder for your carries. It’s best for frontliners in AD heavy comps, and is even better if you have other ways to keep its wearer alive and actively sundering your foes!

Crownguard: Needlessly Large Rod and Chain Vest
AP: 15
Armor: 30
Combat Start: Gain a shield equal to 35% of your maximum health for 8s.
When this shield breaks or expires, gain 40 additional Ability Power.
Crownguard isn’t just the featured item that Choncc stole from Gangplank in our mid-set’s key art. It’s also a great item for AP frontliners with large Health pools, or AP carries who’re getting bursted down before they can ramp up. Cronguard works well on champions like Neeko and Mordekaiser.

Sterak’s Gage: BF Sword and Giant’s Belt
Health: 300
AD: 20%
Once per combat at 50% health, increase max health by 25% and gain 30% AD for the rest of combat.
Darius is just begging to get his hands on this one.

Night Harvester: Sparring Gloves and Chain Vest
AP: 25
Armor: 25
Crit Chance: 20%
Deal 15% bonus damage, increased by 15% when below 60% maximum health.
High-risk meets high-reward. Night Harvester is Jeweled Gauntlet’s best friend as it provides both AP and Critical Strike Chance. The item works best when the wearer can survive a bit of damage and then return the favor. If only Gwen could stay for the mid-set… she’d love this one!
The above items will be replacing Zz’rot Portal, Zephyr, Shroud of Stillness, Zeke’s Herald, Chalice of Harmony, and Locket of the Iron Solari, as craftable items, but those will still be around via Support Items. It’s worth noting that each of these new items also has a Radiant version, but some items you’ll just need to see for yourself. Finally, we’re moving around some Shimmerscale Items into Artifact Items, and adding a few new Support Items.
We’re incredibly excited to see what creative combinations you all come up with using the new items and mid-set adds, and I can’t wait to see you on the Ranked ladder on day one!
Horizonbound is our final mid-set that goes live September 13th for most regions. We’re thrilled to be able to deliver a huge quality of life update to TFT’s item system overall, in addition to a significant roster update, portal update, and of course, Gangplank. But that’s not the only thing in store. We’ll have additional articles covering the mid-set-less future, and the Horizonbound cosmetics!